> ## Documentation Index
> Fetch the complete documentation index at: https://snowglobe.so/docs/llms.txt
> Use this file to discover all available pages before exploring further.
# Connect Your Chatbot
> How to connect your application to Snowglobe for simulation testing.
All work simulations in Snowglobe require an active connection to the chatbot you want to simulate. There are two ways to connect your chatbot to Snowglobe:
1. Connect Snowglobe to an API endpoint that your chatbot is running on. This is the easiest way to get started.
2. Start a local process that wraps your chatbot, and connect Snowglobe to that process. This is more flexible, and allows you to use Snowglobe with any chatbot that can be run as a local process.
If you use [Claude Code](https://docs.claude.com/claude-code), the [`snowglobe-skills`](/snowglobe/docs/guide/bootstrap-with-claude-code) plugin runs the entire local-process connection flow for you — install, auth, scaffold, register, test, and start — from a single prompt.
## Choose Your Connection Method
| | API Endpoint via Web UI | Connector Library |
| ------------ | ----------------------------------------------------- | ---------------------------------------------------------- |
| **Best for** | Product managers, business users, non-technical teams | Developers, technical teams |
| **Pros** | No coding required, quick setup, visual interface | Maximum flexibility, full customization, local development |
| **Cons** | Less customization options | Requires technical knowledge, more setup time |
## Chatbot Configuration
*These steps apply to both connection methods.*
#### Chatbot Name Guidelines
* Use clear, descriptive names (15-50 characters)
* Avoid technical jargon
* Examples: "Customer Support Assistant", "Code Review Bot", "Sales Qualifier"
#### Chatbot Description
Your chatbot description helps users understand:
* What your chatbot does
* When to use it
* What to expect
**Good Example:**
> "Helps customers troubleshoot technical issues with our software. Can diagnose problems, suggest solutions, and escalate complex cases to human support."
For detailed guidance, see our complete [Chatbot Description Best Practices Guide](/snowglobe/docs/guide/chatbot-description).
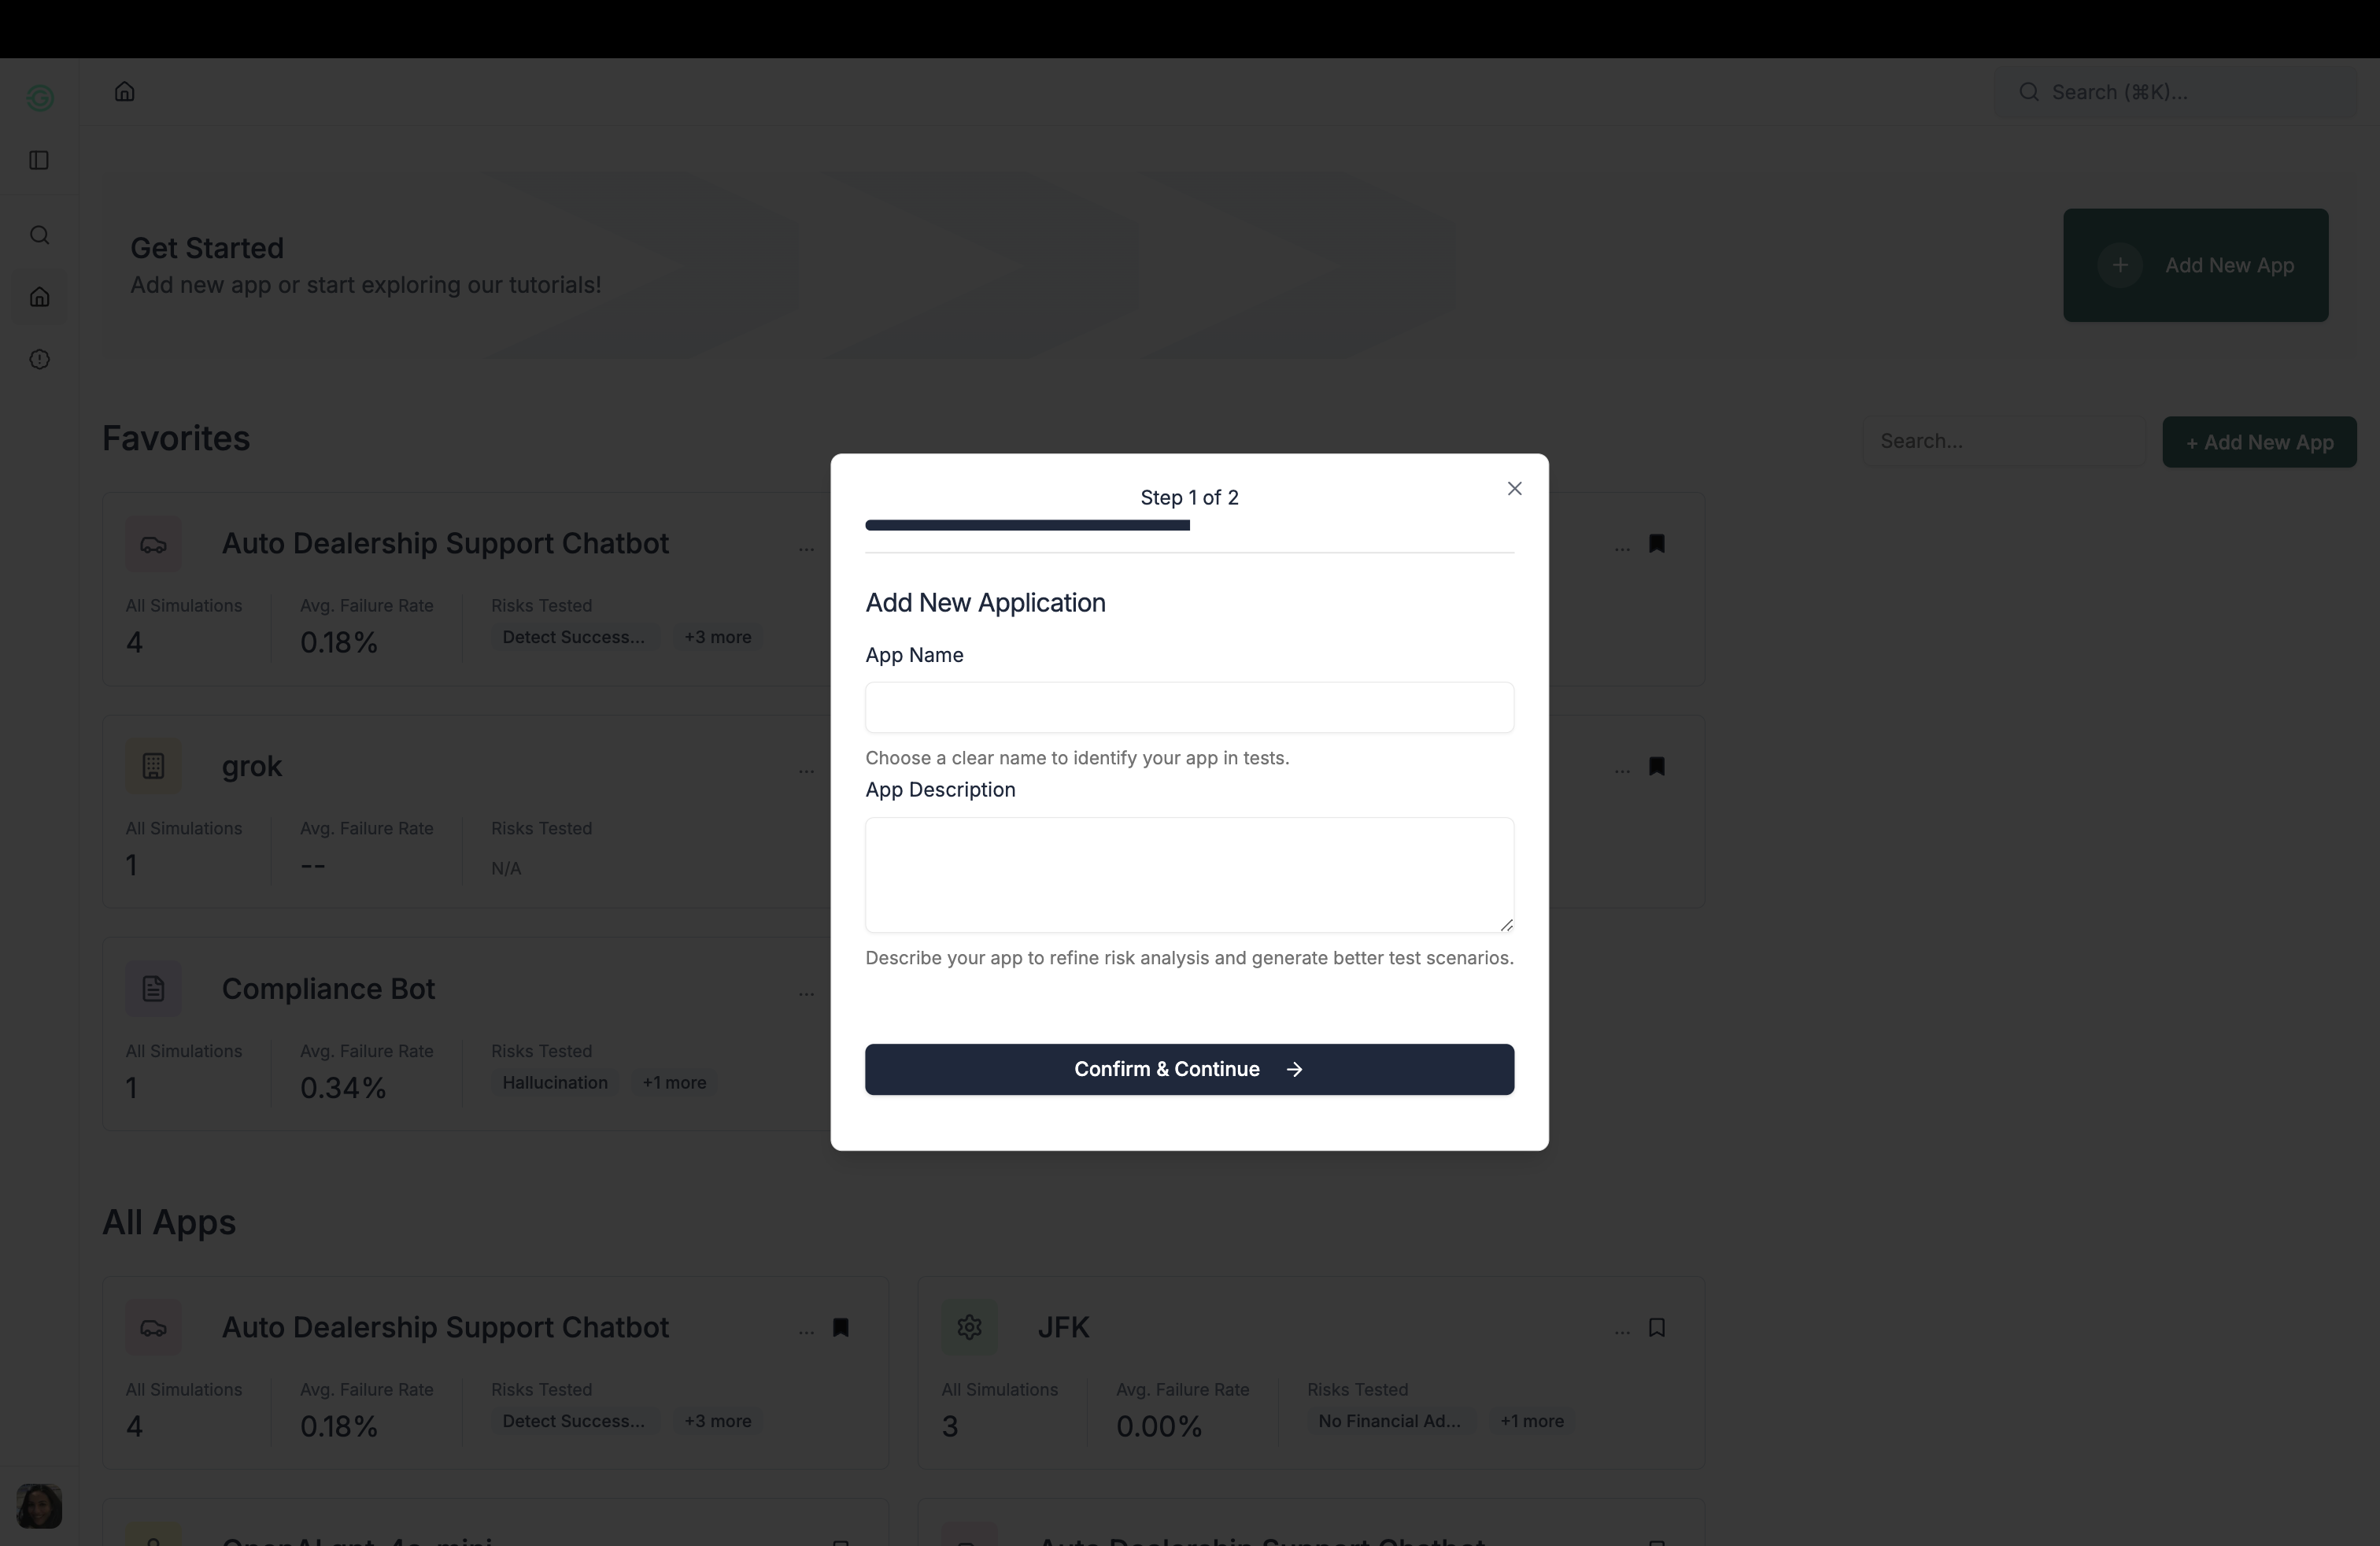 ## Method 1: Via API Endpoint
*Perfect for product managers and business users who want a simple, no-code solution.*
### Before You Begin
Before connecting through the web UI, ensure your development team has prepared your chatbot with these requirements:
#### API Connection Requirements
* **HTTPS Endpoint**: Your chatbot must be accessible via a secure HTTPS URL. Have the authentication as well as any parameters or headers that your chatbot requires.
* **OpenAI Chat Format**: Your chatbot must accept and return messages in OpenAI's chat completion format. Learn more about the [OpenAI chat completion format](https://cookbook.openai.com/examples/how_to_format_inputs_to_chatgpt_models).
#### What You'll Need
* Chatbot endpoint URL (e.g., `https://your-chatbot.com/api/chat`)
* Authentication key/token and any required headers
* Chatbot name and description (see our [chatbot description guide](#chatbot-configuration))
#### System Prompt (optional)
Use the same base system prompt you give your model today—Snowglobe forwards it as-is with every simulation request.
* Leave it blank if your model injects its own prompt or doesn’t need one.
* Keep the text tight; Snowglobe adds the scenario-specific simulation prompt separately.
* Revisit it when your production prompt changes so the connection stays in sync.
This field is separate from your [Simulation Prompts](/concepts/simulation-prompt); those describe scenarios, while this sets baseline behavior.
### Step-by-Step Setup
Follow the instructions in the interactive walkthrough below to connect your chatbot to Snowglobe.
## Method 1: Via API Endpoint
*Perfect for product managers and business users who want a simple, no-code solution.*
### Before You Begin
Before connecting through the web UI, ensure your development team has prepared your chatbot with these requirements:
#### API Connection Requirements
* **HTTPS Endpoint**: Your chatbot must be accessible via a secure HTTPS URL. Have the authentication as well as any parameters or headers that your chatbot requires.
* **OpenAI Chat Format**: Your chatbot must accept and return messages in OpenAI's chat completion format. Learn more about the [OpenAI chat completion format](https://cookbook.openai.com/examples/how_to_format_inputs_to_chatgpt_models).
#### What You'll Need
* Chatbot endpoint URL (e.g., `https://your-chatbot.com/api/chat`)
* Authentication key/token and any required headers
* Chatbot name and description (see our [chatbot description guide](#chatbot-configuration))
#### System Prompt (optional)
Use the same base system prompt you give your model today—Snowglobe forwards it as-is with every simulation request.
* Leave it blank if your model injects its own prompt or doesn’t need one.
* Keep the text tight; Snowglobe adds the scenario-specific simulation prompt separately.
* Revisit it when your production prompt changes so the connection stays in sync.
This field is separate from your [Simulation Prompts](/concepts/simulation-prompt); those describe scenarios, while this sets baseline behavior.
### Step-by-Step Setup
Follow the instructions in the interactive walkthrough below to connect your chatbot to Snowglobe.
### Success Indicators
Green connection status indicator when you navigate to the Chatbot page
## Method 2: Via Connector Library
*Designed for developers who need maximum flexibility and customization.*
### Install & Authenticate the Connector
```bash theme={null}
uv pip install snowglobe
```
Visit [snowglobe.so/app/keys](https://snowglobe.so/app/keys) to generate your API key.
```bash theme={null}
snowglobe login
```
When prompted, enter your API key.
### Initialize the Chatbot Connection
The following command establishes a connection to your chatbot and creates the necessary wrapper code.
```bash theme={null}
snowglobe init
```
#### What this command does
1. Prompts you to select a chatbot connection from your Snowglobe web UI (or create a new one)
2. Creates a template file (chatbot\_wrapper.py) with the wrapper code you need to implement
3. Sets up the local workspace for testing and connecting your chatbot
#### What to Expect
**Chatbot Selection**
You'll see a numbered list of your existing chatbot connections:
```
Select a chatbot connection:
1. Customer Support Assistant
2. Code Review Bot
3. Sales Qualifier
Enter number (or 'new' to create):
```
**Template Creation**
The command creates `chatbot_wrapper.py` with a template you need to fill in:
```python chatbot_wrapper.py theme={null}
from snowglobe_connector import CompletionRequest, CompletionFunctionOutputs
def process_scenario(request: CompletionRequest) -> CompletionFunctionOutputs:
"""
Process a simulation scenario through your chatbot.
Args:
request: The scenario with messages and simulation context
Returns:
Your chatbot's response to the scenario
"""
# TODO: Implement your chatbot logic here
# Access the conversation: request.messages
# Each message has: role, content, and optional snowglobe_data
response = "Your chatbot's response goes here"
return CompletionFunctionOutputs(response=response)
```
**Implementation Reference**
Your function receives a request containing the simulation scenario.
```python theme={null}
CompletionRequest(
messages=[
SnowglobeMessage(
role="user",
content="Help me with this math problem...",
snowglobe_data=None # Optional simulation metadata
)
]
)
```
Return your chatbot's response as a structured object.
```python theme={null}
CompletionFunctionOutputs(
response="Your chatbot's response here"
)
```
### Test Your Wrapper
Validates your chatbot\_wrapper.py implementation by running a test scenario through your chatbot.
```bash theme={null}
snowglobe test
```
### Connect Your Chatbot
Connects your local chatbot to a specific simulation and processes its scenarios. As of client `1.0.0`, `connect` replaces the previous `start` command and `--simulation-id` is required — create the simulation first (in the [dashboard](https://snowglobe.so/app), or with [`snowglobe simulate`](/snowglobe/docs/connect/launch-a-simulation)) and pass its ID.
```bash theme={null}
snowglobe connect --simulation-id
```
#### What to Expect
```
Connection successful!
Your chatbot is now connected to Snowglobe.
Polling for new scenarios...
```
### Success Indicators
Green connection status indicator when you navigate to the Chatbot page
Command line should show this message: `Connection successful!`
## Resources
*Need help? Our support team is available to assist with your chatbot integration.*
Connect with other developers, ask questions, and share feedback.
See examples and showcase of various chatbots simulated with Snowglobe.
Learn best practices for writing effective chatbot descriptions.
Learn how to define what you want to test with your simulations.